LEARN THE DESIGNER
Big ideas.
Start here.
Your first coaster or your next great idea. Learn a little, try it out, and make something that feels like you.
Short lessons. Real tools. Plenty of room to play.
WATCH IT HAPPEN
Three quick ways to get started.
A LITTLE KNOW-HOW GOES A LONG WAY
What do you want to make?
Pick a lesson. Open the steps. Give it a go.
Your first coaster, step by step
Start with a template and make something unmistakably yours.Watch lesson
Recorded in the desktop designer · 34 seconds · On-screen instructions
Press play to follow along. Use full screen for a closer look. Written steps are below.
Choose a starting point
Open the designer and choose Templates. Pick a layout close to your idea; you can change its words, artwork and colors.
Make one change at a time
Choose a template, then Add to coaster. Close the tray, select a name on the coaster, and use Edit on the object toolbar to change it. Click away to finish editing. Use Undo if an experiment goes sideways.
Give it a final look
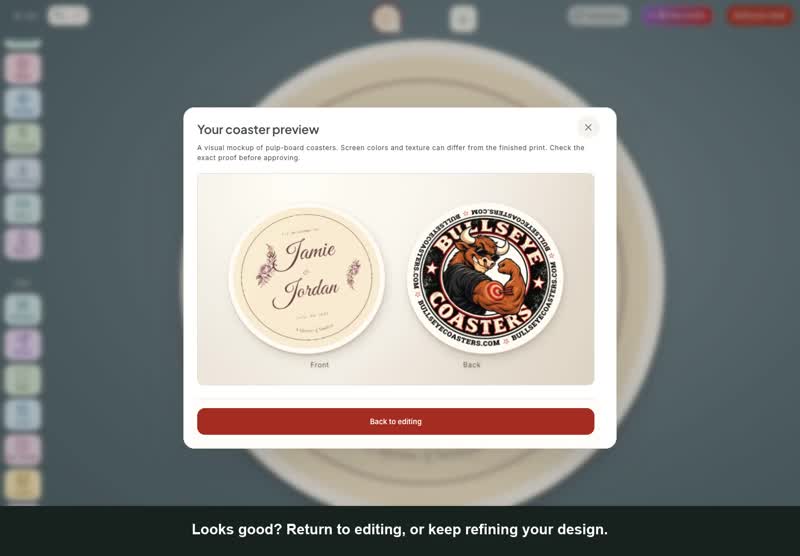
Open Preview. Check spelling, artwork placement and every printed side. Open set details to review shape, print options and quantities before ordering.
Find your way around
Know where to go before you need to go there.View lesson
Meet your tools
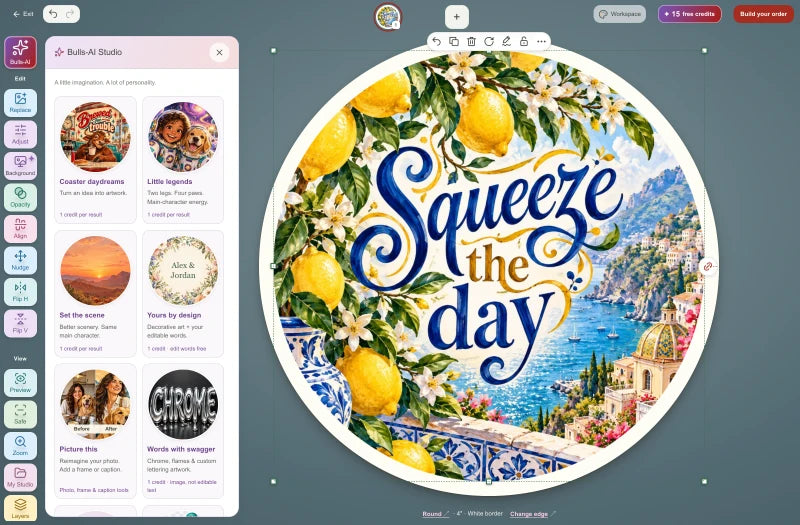
Uploads brings in your files. Templates gives you a head start. Text adds words, Assets adds illustrations, and Backdrop sets the scene.
Select, then edit
Tap or click an object on the coaster to see its editing controls. On a phone, controls appear in trays; on desktop, they sit beside the canvas.
Keep experimenting
Undo reverses an edit; Redo brings it back. Use the lessons here for a walkthrough of the tool you are using.
Ready for its first drink?
A quick check before your design becomes a real coaster.View lesson
Read every word
Check names, dates, punctuation and spelling. Look at the design at a realistic small size, not only zoomed in.
Check the edges
Keep important details inside the safe guide. If you want artwork to reach the edge, extend the background beyond the guide to fill the coaster.
Review the whole set
Use Preview and check every design and each printed side. In set details, confirm the shape, print options and quantities before continuing to checkout.
Give your pet the spotlight
Turn a favorite photo into something worth putting on the table.View lesson
Pick a clear photo
Choose a sharp photo with your pet’s face easy to see. Open Uploads and select the file.
Frame the personality
Select the image and adjust its size and framing. Keep ears, eyes and other important details inside the safe guide.
Add a little character
Add a name or short caption with Text. For an illustrated version, use the photo options in Bulls-AI and describe the look you want.
Make your words work harder
A name, a punchline, or just the right amount of attitude.Watch lesson
Recorded in the desktop designer · 38 seconds · On-screen instructions
Press play to follow along. Use full screen for a closer look. Written steps are below.
Keep the message short
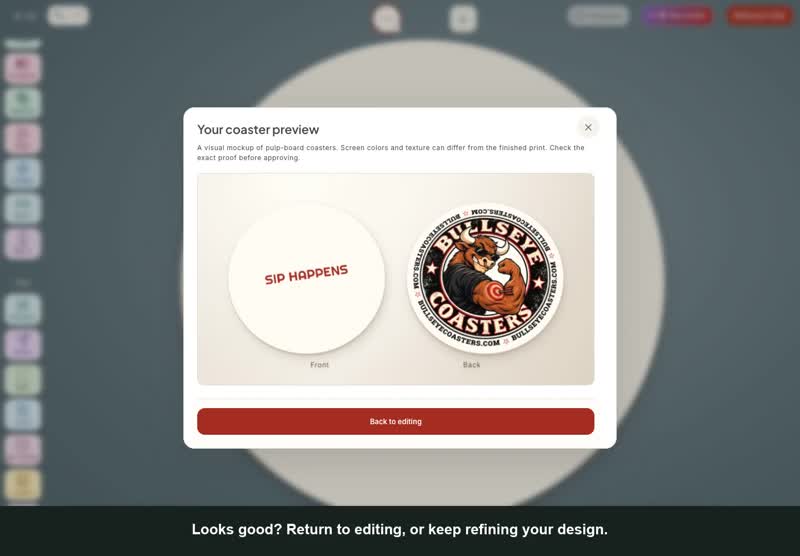
Open Text and choose “I’ll style it myself.” Select Edit on the object toolbar, type your words, then click away. Open Font to choose a look. A short headline leaves more room for your artwork.
Create a clear reading order
Make the main phrase larger than supporting details. Choose a text color that stands out from the background.
Place it with purpose
Move and resize the text, then try the available text effects if they help readability. Check the result in Preview.
Give your artwork a new setting
Separate the subject, then choose a background that fits.View lesson
Select the photo
Upload your image and select it. Open its photo editing controls and look for the background removal or cutout options.
Refine the edges
Where the tool offers keep/remove controls, work in small areas. Use a smaller brush around hair, fur and fine details.
Set the scene
Use Backdrop to choose a background. Place the subject, add text if you want, and preview the edges against your new color.
Get closer with a better prompt
Give Bulls-AI a clear creative brief.View lesson
Name the subject and the look
Describe what should be in the artwork, the illustration style, and the mood. “A sleepy orange cat, vintage cartoon, cozy and playful” is a useful start.
Describe the composition
Say where the subject belongs, what fills the background, and where you want room for a caption. Keep the request focused.
Review before another take
Check the generated preview. For a revision, describe one specific change and say what should stay the same. Check the credit information before generating again.
Build a design in layers
Make artwork, accents and words play nicely together.View lesson
Build from back to front
Start with the backdrop, add the main subject, then add accents and text. Leave breathing room around the focal point.
Select and arrange
Use the layer and arrange controls to choose objects and change what sits in front or behind. Align related objects for a cleaner composition.
Move related objects together
Select the objects you want to keep together and use the grouping control. Ungroup when you need to edit individual pieces.
Make a set that belongs together
Different designs. One shared personality.View lesson
Choose your common thread
Pick a small color palette, a lettering style and a shared theme. Repeat those choices across the set.
Change one main element
Give each coaster a different subject or caption while keeping the background treatment and type placement consistent.
Review them as a set
Check every design in Preview. Open set details to verify quantities, shapes and printed sides for each design before ordering.
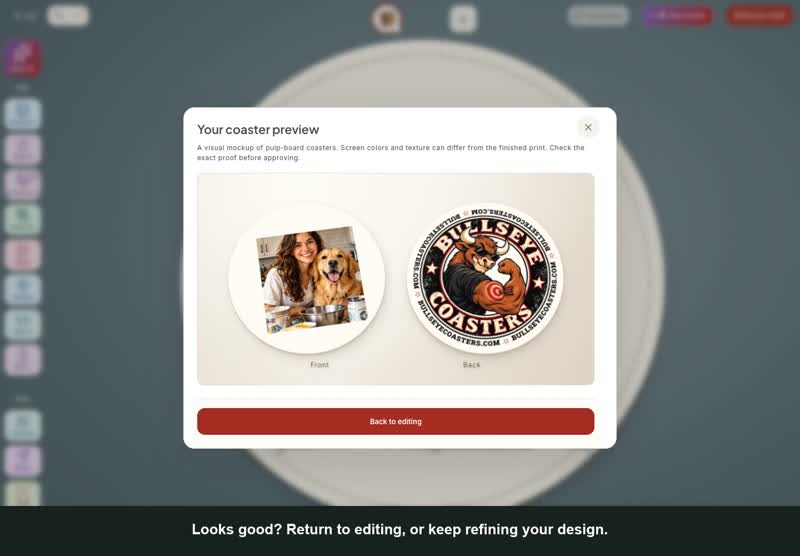
Add a photo, step by step
Upload a photo, resize it, and check the result in Preview.Watch lesson
Recorded in the desktop designer · 28 seconds · On-screen instructions
Press play to follow along. Use full screen for a closer look. Written steps are below.
Start with the original
Upload the clearest original photo you have. A screenshot or image saved from a message may have less detail.
Frame the subject
Open Uploads, choose Choose photos, and select your file. Drag a corner of the selected photo to resize it. Keep faces inside the safe guide.
Check before finishing
Turn on Safe to check the important details, then open Preview. Return to editing if the image needs a different size or position.
Make a coaster for your people
Build a birthday, wedding or reunion design around a few good details.View lesson
Choose the essentials
Start with a name, a date and one focal image. Decide which detail someone should notice first.
Make the words editable
Add names and dates with Text. Use a larger headline and simpler supporting lettering so the small details remain readable.
Check the occasion
Verify every name and date, then review placement and print options. For multiple designs, repeat the same colors and type choices.
Give the background a supporting role
Use color, pattern and contrast to let the main idea shine.View lesson
Start with a simple color
Open Backdrop and choose a color that complements your photo or illustration. Check how well the text stands out.
Add texture thoughtfully
Try a pattern if it suits the design. Reduce its opacity where available so it does not compete with the subject.
Check the silhouette
View the whole coaster at a smaller size. If the subject or caption disappears into the background, simplify the pattern or change the contrast.
Give your brand some table space
Build a clean layout around your own logo.View lesson
Bring the real logo
Upload a clear original logo file. A transparent background is useful if you want the coaster background to show around the mark.
Give it room
Keep the logo proportions intact as you size it. Leave space around the mark and keep important details inside the safe guide.
Keep supporting copy short
Add a short tagline or web address with Text, then inspect the smallest lettering in Preview. Remove anything that makes the layout feel crowded.
Revise the idea without losing the idea
Write clearer follow-up instructions for Bulls-AI.View lesson
Name what works
Review the current result. Identify the subject, composition and colors you want to keep before asking for a revision.
Request one specific change
Try wording such as: “Keep the cat and the warm kitchen. Make the mug red. Keep the artwork free of lettering.” Check the credit amount before generating.
Compare the whole result
Review details beyond the part you asked to change. Generated revisions can also alter faces, shapes and backgrounds.
Make the layout feel finished
Use alignment, spacing and a clear visual hierarchy.View lesson
Choose the focal point
Decide whether the headline, photo or illustration leads. Make that element the easiest thing to see.
Arrange the supporting pieces
Select objects and use the align and arrange controls. Check both the spacing between objects and the space around the outer edge.
Take the small-size test
Look at the whole coaster without zooming in. If the message takes effort to read, shorten the text, increase contrast or remove a competing accent.
No lessons match that search. Try “photo,” “text,” or “prompt,” or clear the filters.
A REASON TO OPEN THE DESIGNER
Pick a little project.
No blank-canvas panic. Choose an idea, then follow the lesson to make your own version.
A pet with main-character energy
Start with a clear photo, frame the face, then add a short caption. Try an illustrated interpretation with Bulls-AI if you want a different look.
Start with a pet photo →A party favor worth keeping
Choose a name, date and a small color palette. Make one focal image do the work, with editable text for the details.
Build an event design →Your business, on the table
Bring your original logo, choose a complementary background, and add one short line people can read at a glance.
Work with your logo →A whole set with one personality
Keep a shared palette and lettering style, then vary the subject or caption. Review each design individually and together.
Plan a matching set →GIVE YOUR IDEA A LITTLE DIRECTION
A better prompt starts
with three good details.
Tell Bulls-AI the subject, the style, and the setting. Start here, then make the wording your own.
Paste this into Bulls-AI in the designer. Generating artwork uses credits; check the amount shown before you create.
ONE LAST LOOK
Before it meets a real drink.
A personal review checklist—not an automated artwork check. Your checks reset when you reload this page.
0 of 6 checked
A little stuck? Start here.
My photo looks blurry.
Start with a clearer, larger original. Avoid screenshots and heavily compressed copies. Making a small image bigger does not add missing detail.
Open the related lesson →My words disappear into the artwork.
Use a shorter caption, increase contrast, or give the text a quieter part of the background. Preview at a small size before adding more effects.
Open the related lesson →I cannot select the object I want.
Another object may be covering it. Use the layer controls to choose the object, then check its position in the stacking order.
Open the related lesson →The generated words are wrong.
Generate the illustration without lettering and add your exact words with Text. Words inside an image are not independently editable text.
Open the related lesson →A few things worth knowing.
Where should I start if I need help?
Use the searchable lessons and quick fixes on this page. On mobile, select an object on the coaster first to reveal its editing controls. Lesson links open the designer in a new tab so you can keep the instructions beside you.
Can I change words after generating artwork?
Words inside a generated image are part of that image. For text you can change independently, generate the artwork without lettering, then add the words with the Text tool.
Why is there a dashed line on my coaster?
It is the safe guide. Keep important text and faces inside it. The guide is not printed. Background artwork can extend past it to fill the coaster.
Will the lesson open a ready-made project?
The lesson buttons open the designer in a new tab so you can keep the instructions beside you. Choose your own template or artwork there; the lessons do not replace an existing project.
Your turn to make something.
Start simple. Make it personal. See where it goes.